Lots of people would like to host a website, but the monthly costs associated with web hosting isn’t always ideal. While it’s a good idea to scale your website to match the daily traffic it receives, it’s sometimes easier to host the website out of your house. This avoids monthly charges and allows you to run the site on a device that most people have running 24/7.
You don’t even need a fix IP broadband, just register a domain name, create CNAME that points to your DDNS address. Setup Synology DDNS services and you are ready to go.
Synology NAS DS220+ and above have decent amount of processing power for WordPress site, from light to medium traffic. If you install NVMe cache it will drastically reduce the amount of wake up time when you access your sleepy NAS. For me, it almost free since I have my NAS running 24/7.
Install the following packages
- WordPress
- Web Station
- MariaDB 10
- PHP 7.3
- Apache HTTP Server 2.2
- phpMyAdmin (optional but required for multiple WordPress instances)
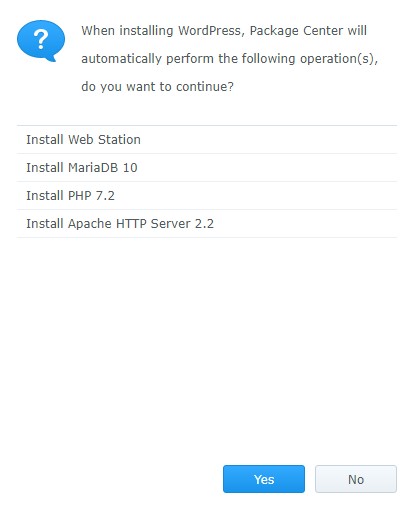
Install WordPress package and it will install all of the above except phpMyAdmin, install phpMyAdmin manually. Select Yes to continue
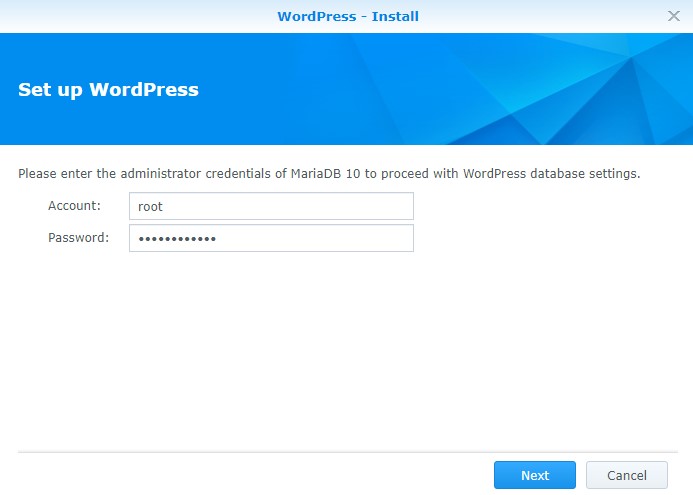
Create a password for the MariaDB package that’s installed. Select Next after the password has been defined.
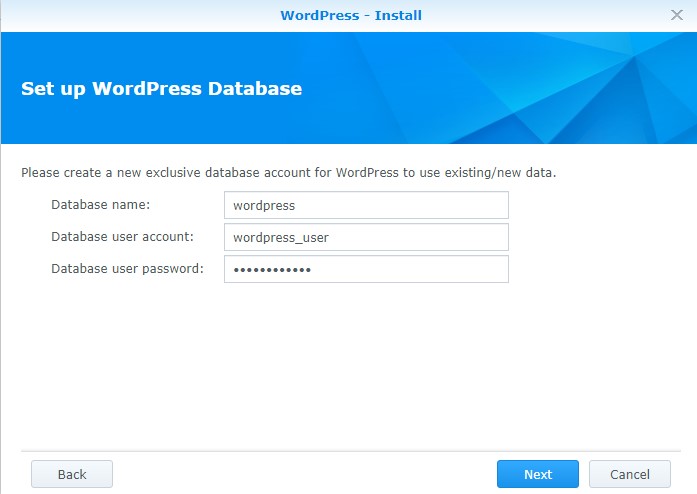
WordPress will automatically configure a database user. Enter a password that will be used for the wordpress_user. You can define your own database name here which I prefer
- database name: mydomain
- database user account: root
- database user password: xxxxxxxxxx
Select [Next] to continue.
Install phpMyAdmin from Package Center, Go to DSM Package Center > All Packages. Type “phpMyAdmin” in the search bar and select Install.
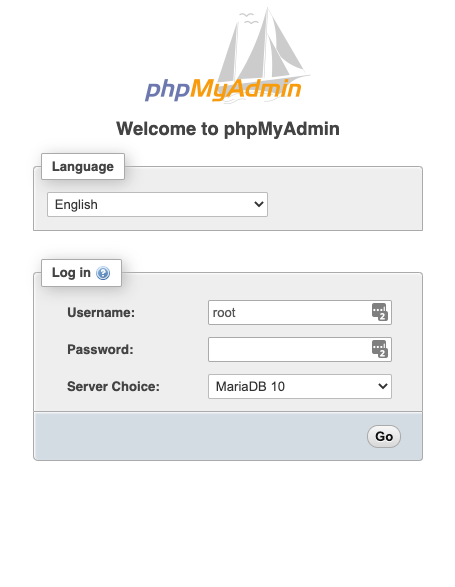
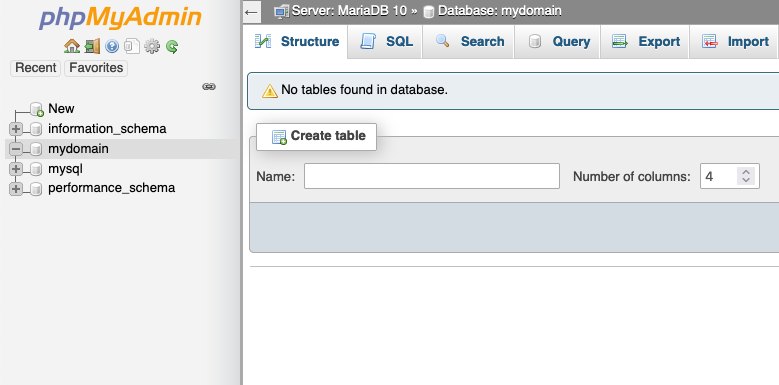
Login to phpMyAdmin, you should be able to see the database name “mydomain”previously defined
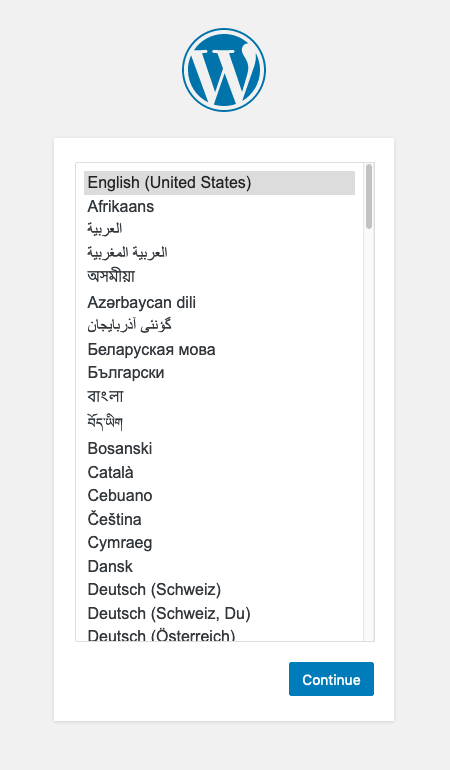
Launch WordPress.
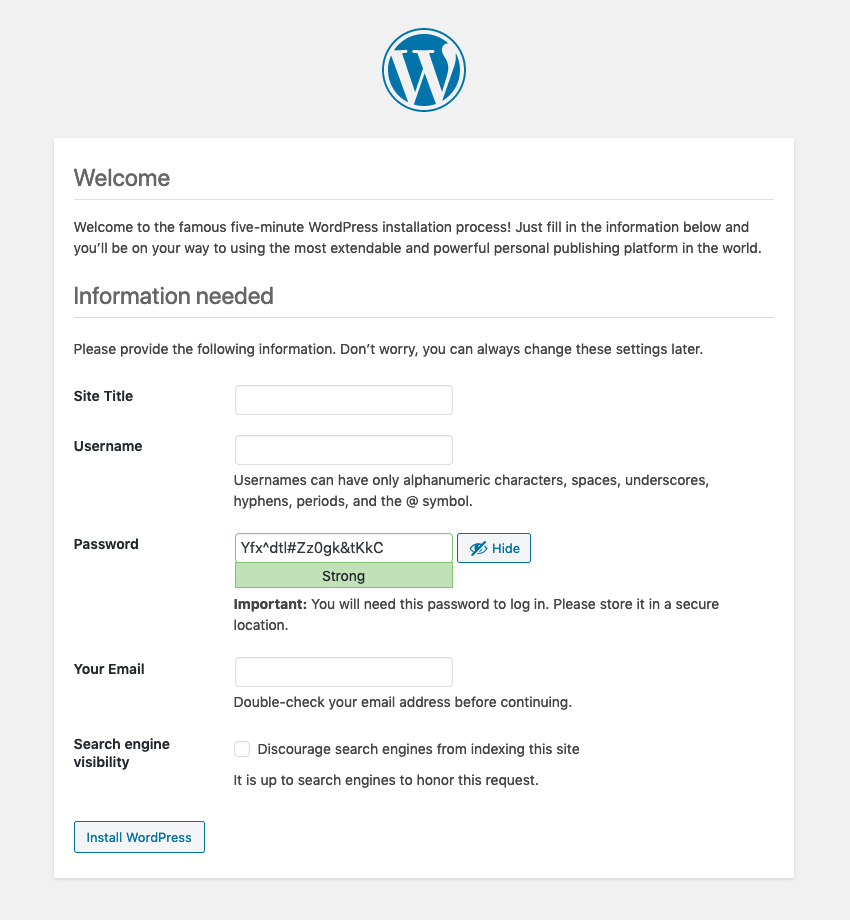
Define WordPress site, username, password and email address. Select Install WordPress to complete.
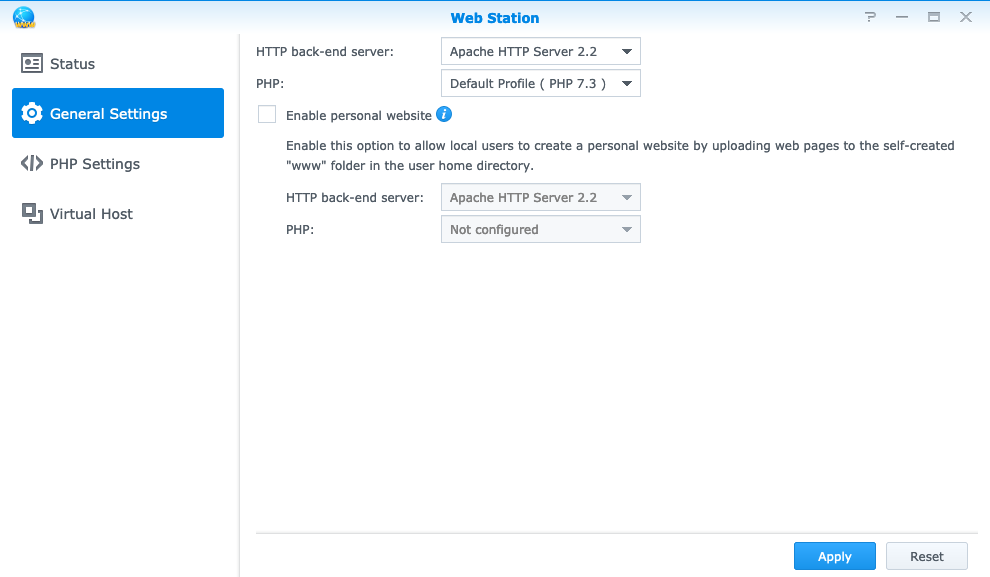
Launch and set up Web Station so that it maps that domain name to that sub folder. Under General Settings, Set HTTP back-end server: to Apache HTTP Server 2.2 and PHP: to PHP 7.3.
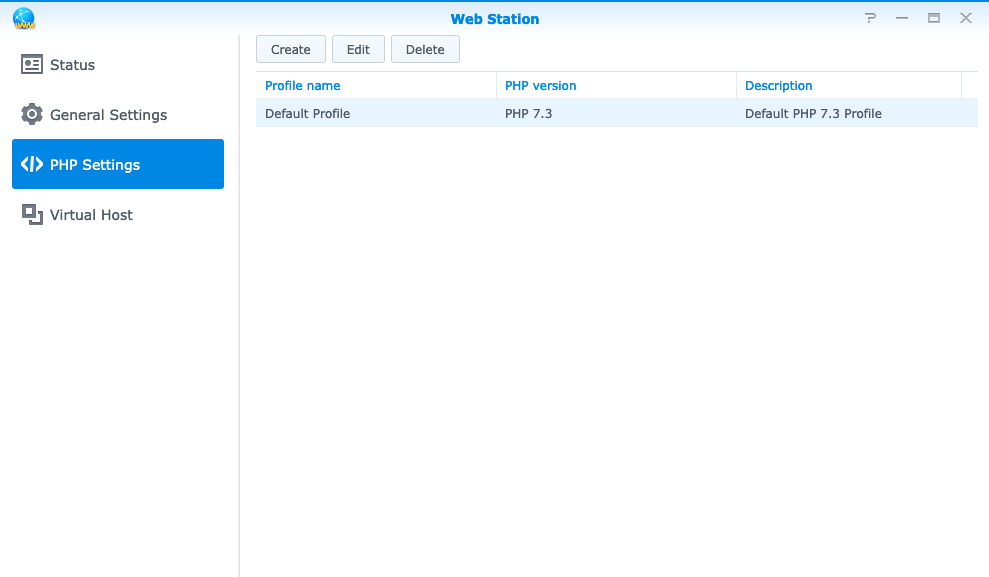
PHP Settings, select Default Profile and click Edit
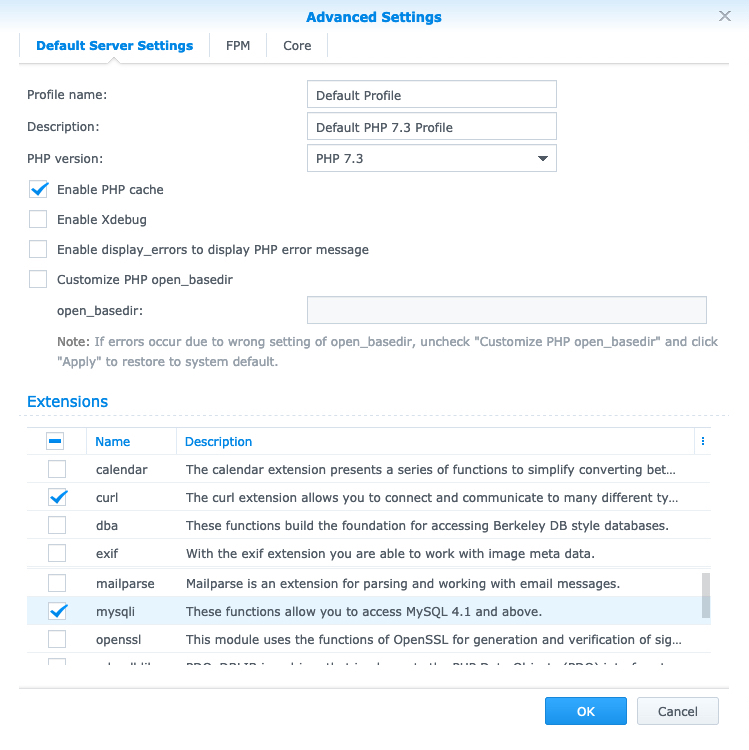
Set PHP version to PHP 7.3. Leave PHP Cache enabled. Select these extensions: curl, mysqli, select OK.
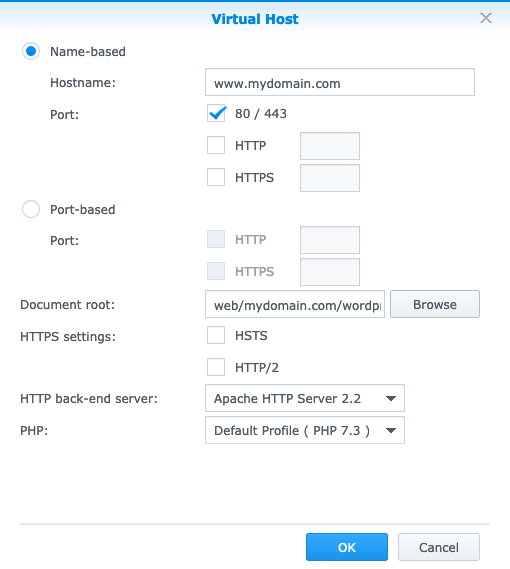
Virtual Host, the site will be “name-based”, define www.mydomain.com for the Hostname, browse your site’s folder for Document root, set HTTP back-end server: to Apache HTTP Server 2.2 and PHP: to PHP 7.3. Select OK
Obtain an SSL certificate for the www.domain.com, go to control panel/security/certificate
- Click Add, and select “Add a new certificate” and Next
- Select Get a certificate from Let’s Encrypt and Next
- Enter the domain name for the wordpress site, enter an email, Apply
- now you have the SSL certificate from Letsencrypt
- click on configure
- find the service which is the domain for the wordpress site, to the right is the certificate it will use which is certainly incorrect
- use the drop-down for the certificate and find the new SSL certificate that you just now created, and pick it, and click OK