For some reason, WordPress site is hosted on an internal local network but also require WAN access at the same time, “Port Forwarding” on the main router can be enable to achieve the requirements. There are benefits such as setting up a physical site for testing or migration without touching the live WordPress server.
Setting up the WordPress site
- Download wordpress-5.8.tar.gz to shared “web” folder and extract to create “wordpress” folder. Do no use Sysnology’s WordPress package.
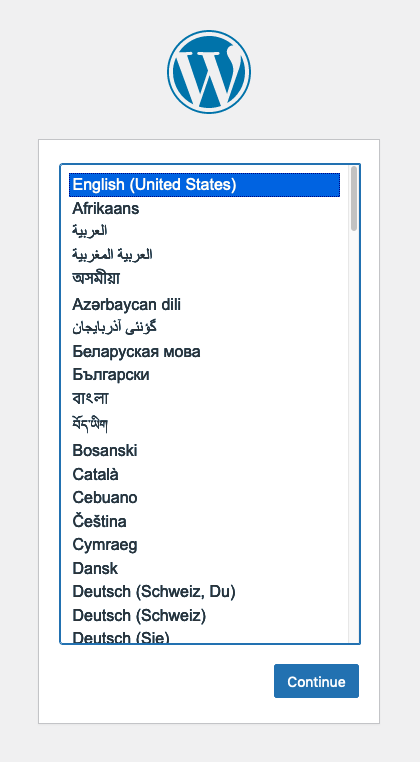
- In terminal, ssh to NAS via a user, su to root “sudo -i”, change current directory “cd /volume1/web”. Correct wordpress files permission with “chown -R http:http wordpress”. Launch WordPress in the NAS, you should see the language menu.
Language selection
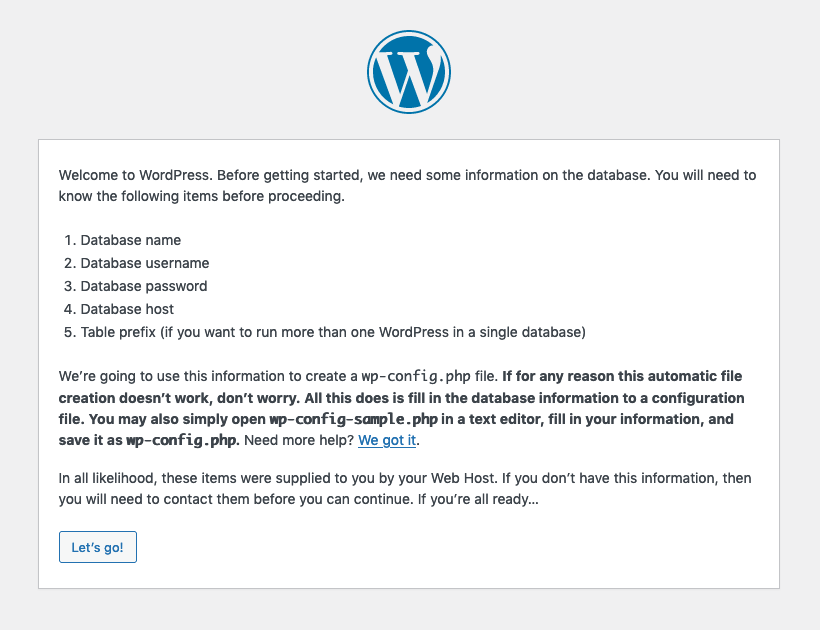
Read the instructions and click Let’s go!
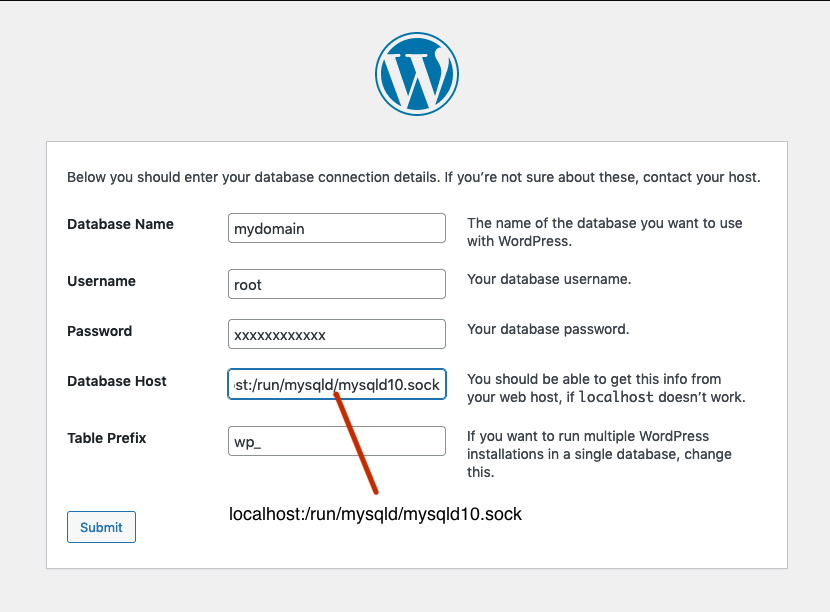
Define Database Name, Username/Password and set Database Host as “localhost:/run/mysqld/mysqld10.sock”. Click Submit to continue
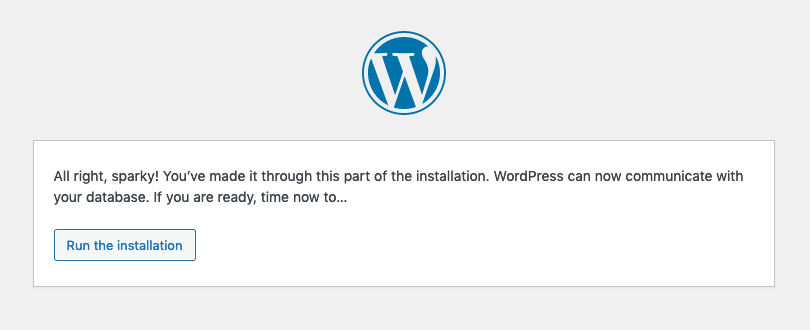
Proceed and click Run the installation
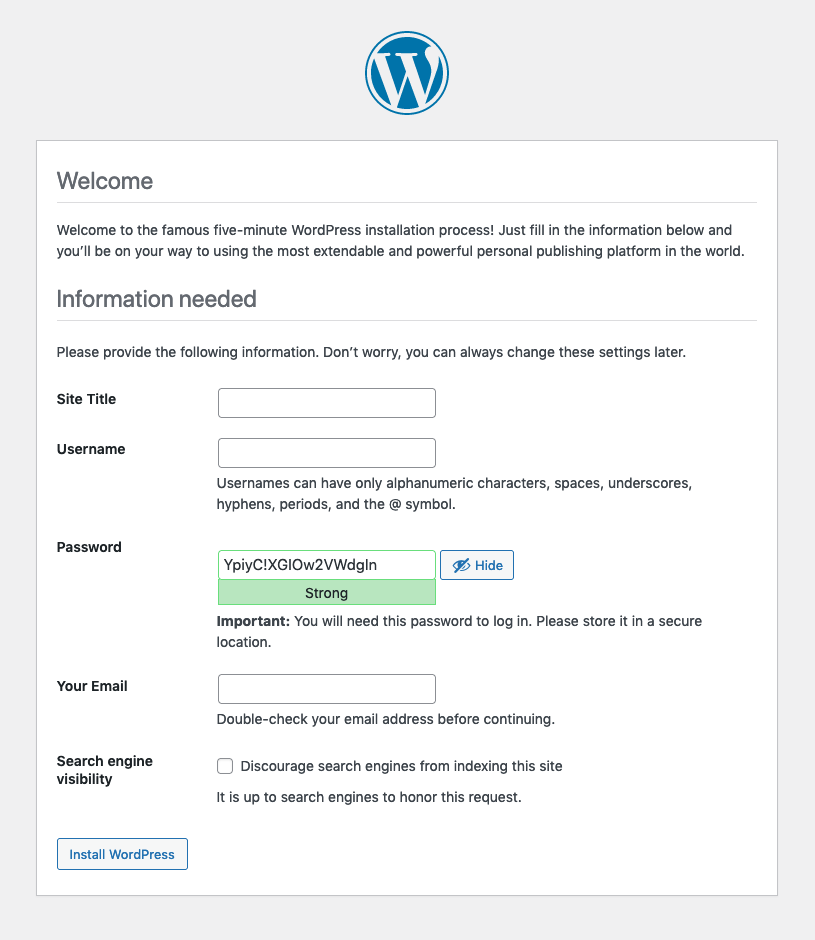
Define Site Title, Username/Password and email address, click Install WordPress to continue
Setup Web Station, see https://weblog.orbit9.org/web-station-on-synology-nas/
Setup SSL certificate, see https://weblog.orbit9.org/lets-encrypt-ssl-certificate-on-a-synology-nas/
Site accessible by typing https://www.mydomain.com:8443, assuming “Port Forward” map port 8443 to 443 on the main router.
Redirect URL “https://www.mydomain.com”, use index.html redirect or forward to destination if required.